RedmineStudio Settings④ -User List, Data Output-
redminepower
RedminePower

This is an explanation of RedmineStudio’s review issue creation feature.
This article covers how to specify the target phase for review and record it in issues.
By specifying the review phase, you can classify reviews as “Design Review” or “Implementation Review”, and later analyze which phase each finding was made in.
Please read through to the end.
In the following sections, we’ll first explain how to add a custom field to set the phase options, then describe the specific methods for setting the phase for a review.
Here’s how to add a custom field in Redmine settings.
There are many types of custom fields, but here we’ll explain how to add a list-type custom field to issues. System administrator privileges are required.
Open the custom field settings screen from the administration menu.
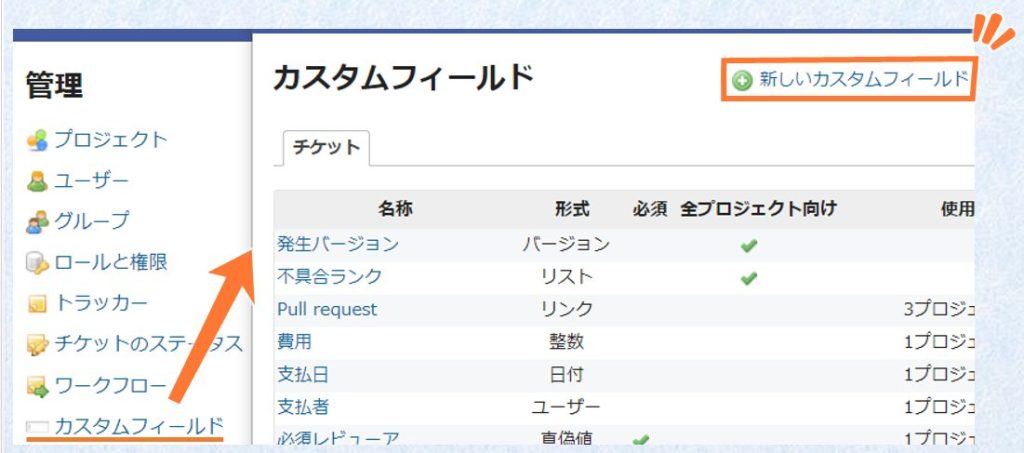
Click “New custom field” to open the custom field creation screen.
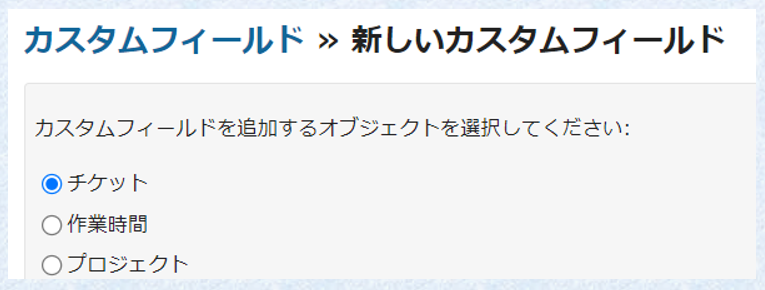
First, select “Issues” as the target for the custom field and click “Next”.
Select “List” as the format, and enter the “Name” and “Possible values”. Then select the “Trackers” and “Projects” where you want the custom field to appear.

Once all settings are complete, click “Create” to add the custom field.
Open the Review tab from the settings screen and check “Specify review target phase”. Then select the custom field you added earlier. This setting is retained, so you only need to do this once.

When enabled, an item to specify the “Review Target Phase” will be displayed on the review screen.
The options from the custom field you configured above will be displayed. Select the appropriate phase.
Here, the four options set in the “Detection Phase” custom field are displayed: “Functional Specification”, “Design”, “Implementation”, and “Test”. Also, when you change the phase, the review issue title changes accordingly.
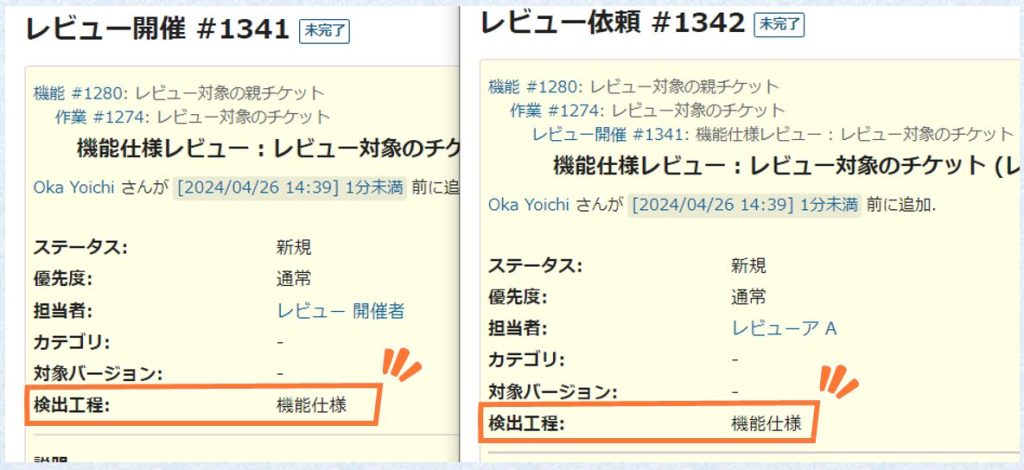
When you create issues in this state, the phase will be set on the review “Session Issue” and “Request Issue”. In this example, it will be set in the “Detection Phase” custom field.
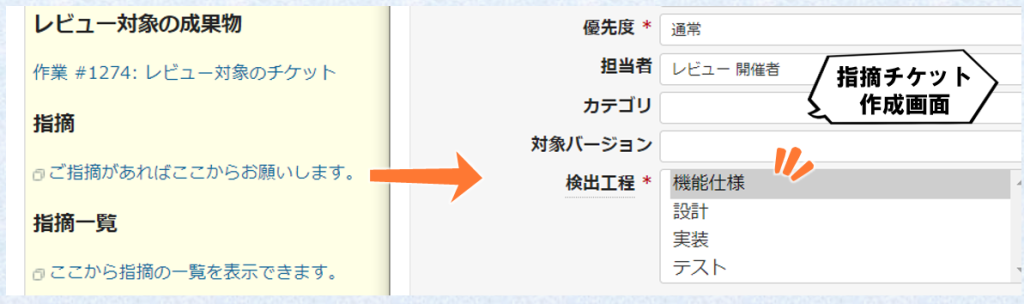
Also, when creating a “Finding Issue” from the finding creation link on the “Request Issue”, the phase selected on the review screen will be set as the default in “Detection Phase”. This allows phase information to be recorded without requiring additional work from reviewers.
This concludes the explanation of how to specify the review target phase and record it in issues.
Classifying findings by phase is the first step in reviewing your reviews. This feature lets you do that without adding extra burden on reviewers or organizers!
See you in another article.