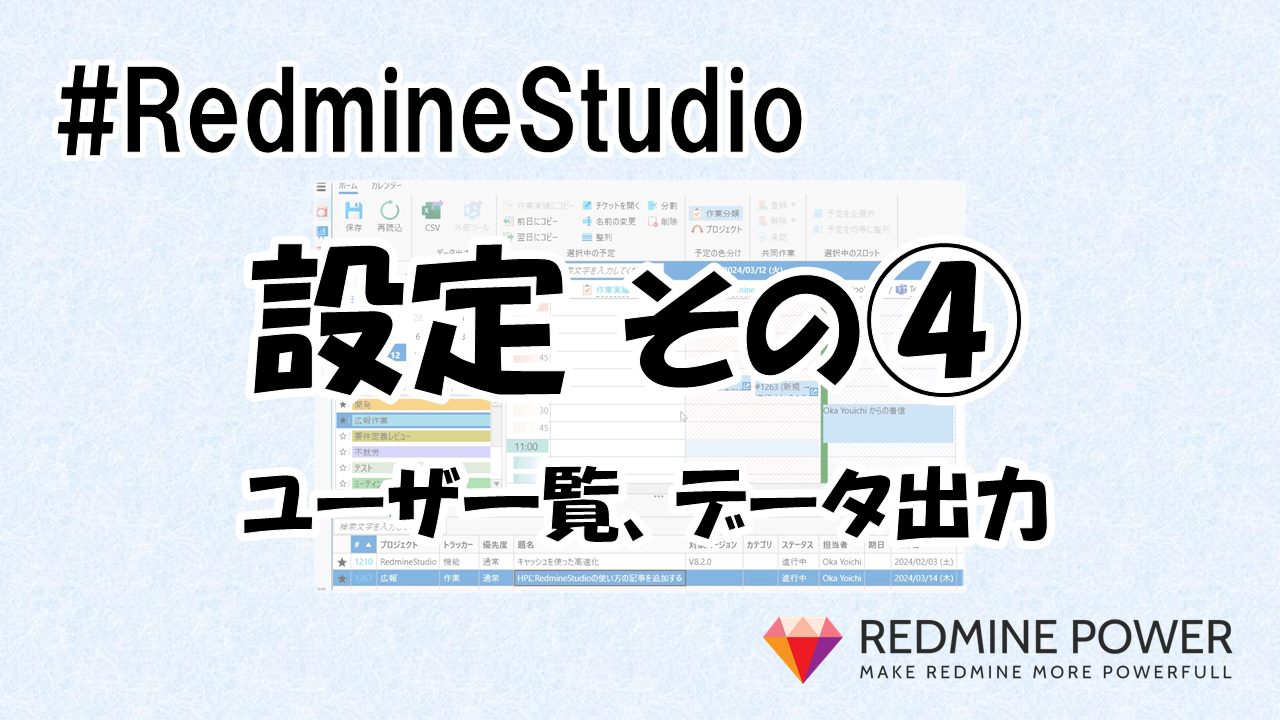
RedmineStudio Settings④ -User List, Data Output-
redminepower
RedminePower

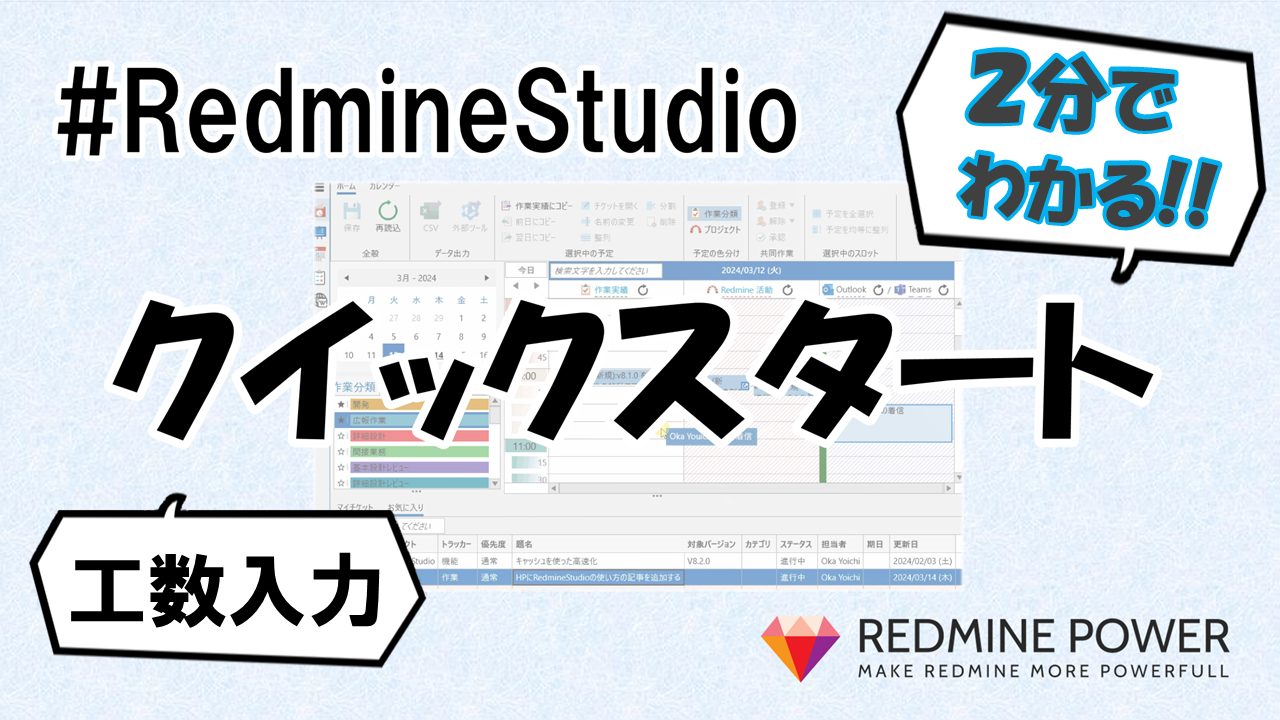
This is a quick start guide for those who want to try it out right away.
Please give RedmineStudio’s time entry feature a try.
We hope you’ll experience how fast it can be.
Here’s the workflow:
Three settings are required: “URL”, “Username”, and “Password”.
Click the “” icon at the bottom left of the screen to configure these settings.
Once the settings are complete, click “OK”. This setup is only required for the first time.
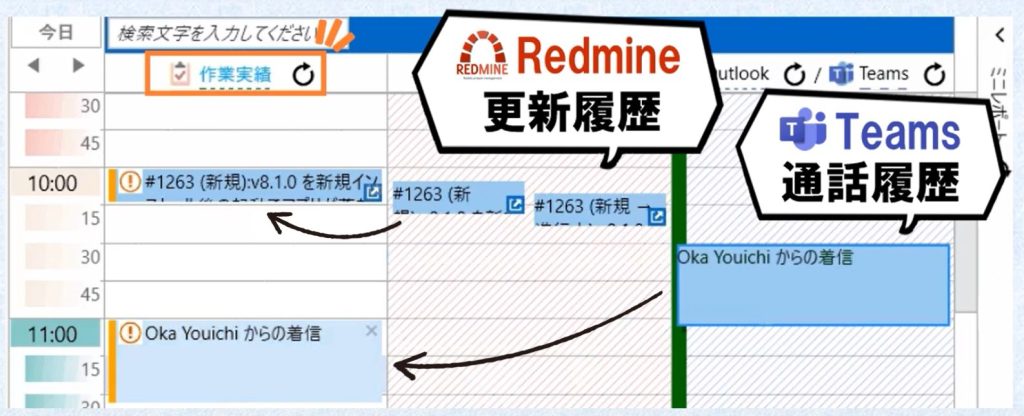
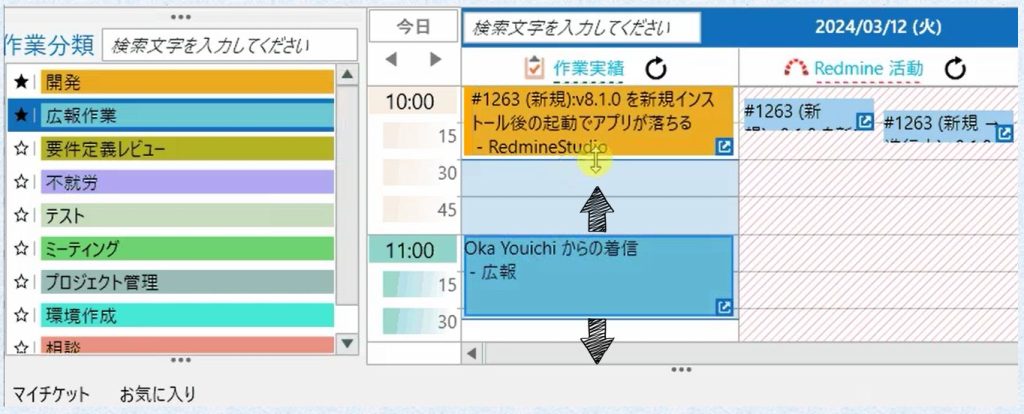
Register the time you worked as “work records” based on issue update history or Teams conversation history. You can register work records by dragging and dropping from the “Redmine Activity” or “Outlook/Teams” areas.
You can also drag and drop from “My Issues” or other issue lists, or directly from your browser. Please give it a try!
After adding a work record, set the “Issue” and “Activity” for it.
These are required fields for registering time entries in Redmine.
You can set the “Issue” by dragging and dropping from the issue list below, and the “Activity” from the activity list on the left.
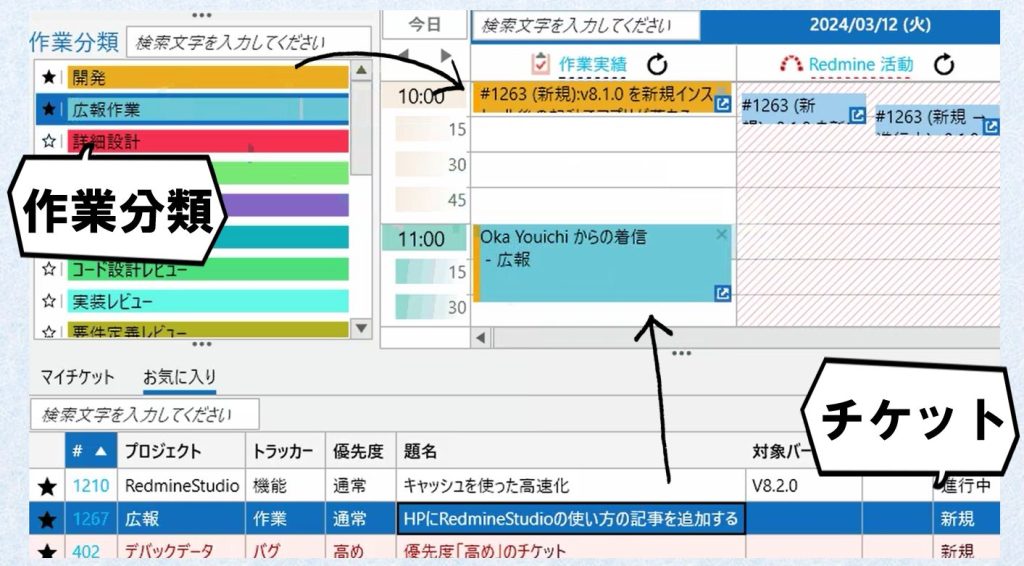
If you added the work record from a issue’s update history, the issue is automatically linked, so no additional setting is needed.
For the “Activity” setting, we also provide an “Auto Activity Assignment” feature that automatically sets the activity based on the issue. Please try it out!
Next, adjust the “Start Time” and “End Time” to match your actual work.
The top and bottom edges of work records are draggable – move them up or down to adjust the times.
By the way, there’s also a copy & paste feature for work records, which is useful when entering the same work as the previous day. Please try it out!
Once you’ve adjusted the times, click “Save”.
This will register your work records as “Time Entries” in Redmine.

In addition to registering to Redmine, you can also export to CSV format or output to other internal time management systems. Please make use of these features!
That’s it for time entry with RedmineStudio!
How was it?
The origin of RedmineStudio is to solve the problem of wanting to visualize work hours, but accurate time entry requires too much effort.
“I’d rather spend time on development than on entering time logs.”
“But if I slack off on entries, my manager will get upset…”
We hope RedmineStudio reaches people who feel this way.